6 Professional Food Photography Tips
People eat with their eyes, right? Sell more by making sure your promotional content is of the best. Get started by following these 6 Professional Food Photography Tips, for Chefs, by Chefs.
“People eat with their eyes.” It refers to how a dish’s appearance highly affects its taste and overall enjoyability. Thanks to social media, every food business must optimize its menu with crave-worthy images. Stock photos and random visuals just don’t cut it anymore. Research has even revealed that employing professional food photography can increase sales of a menu item by up to 30% – a massive boost for brands looking to stand out in a highly competitive market!
The good news? Anyone with a smartphone can take high-quality photos and instantly post them for potential customers to see. Need new creative food photography ideas? Turn to this list of practical tips to improve your shooting skills and entice your customers with one-of-a-kind images.
1. Start by Styling
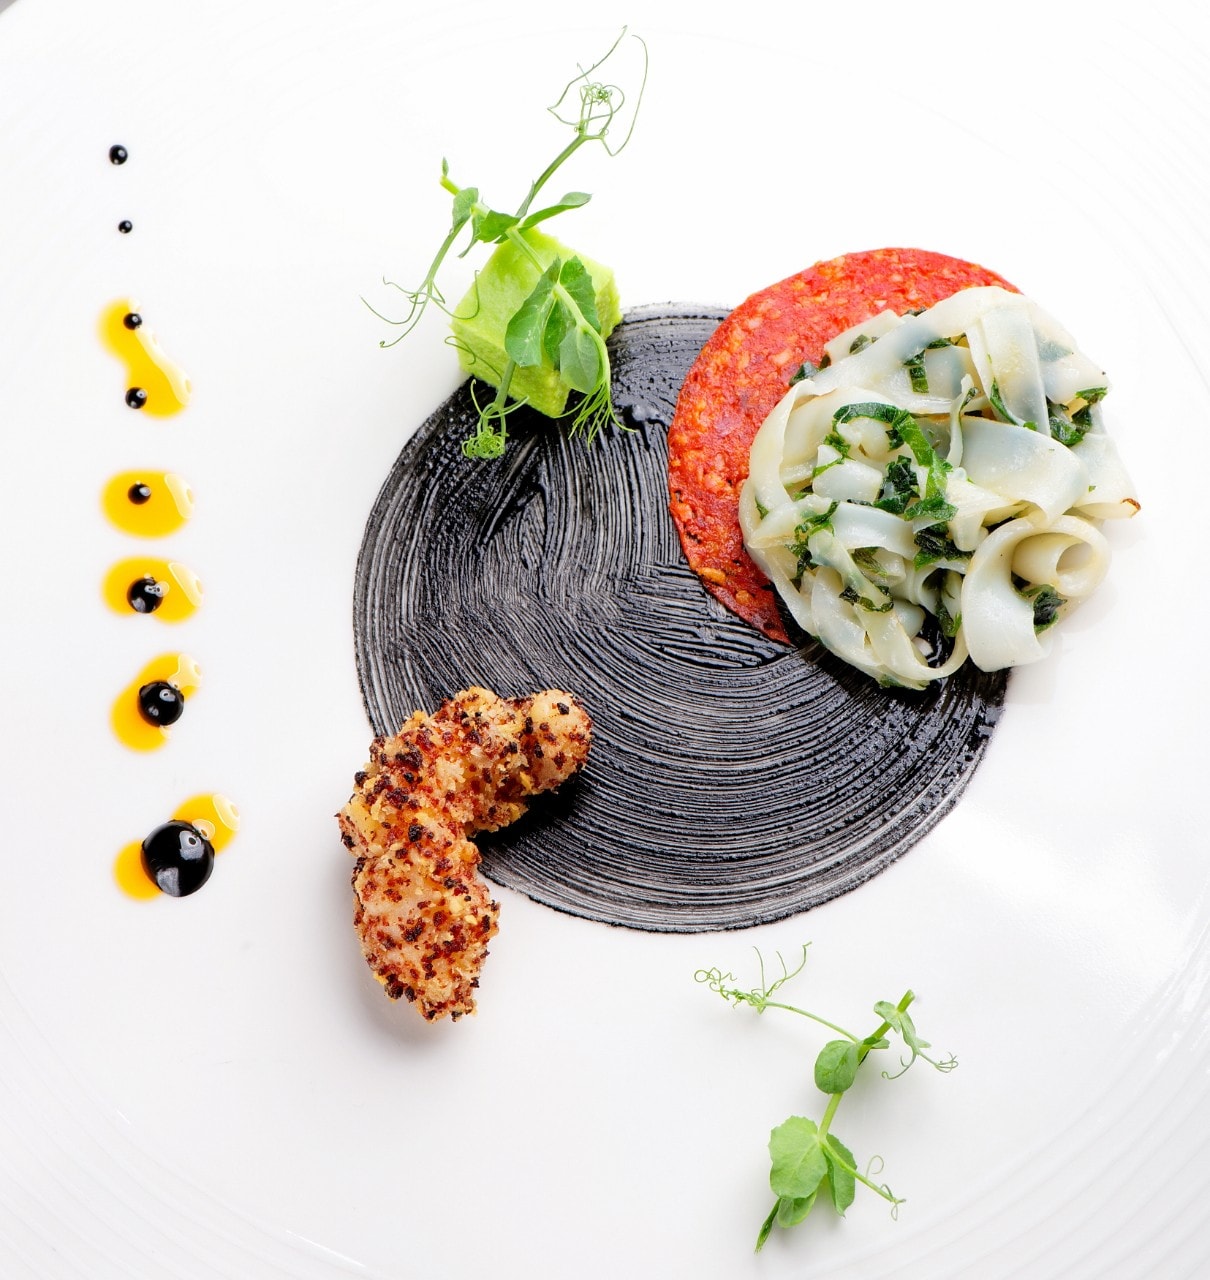
While your food should be the focus, styling your shot can amp its aesthetic value. First, choose an appropriate background or surface that highlights the dish’s features. For example, a wooden slatted board can achieve that rustic, farm-to-table look. Next, surround your main star with props that help set the mood. Consider adding branded napkins, crockery, and table decorations, like flowers, a cup of coffee, or a teapot. This way, your image will tell a story and not just showcase your food.
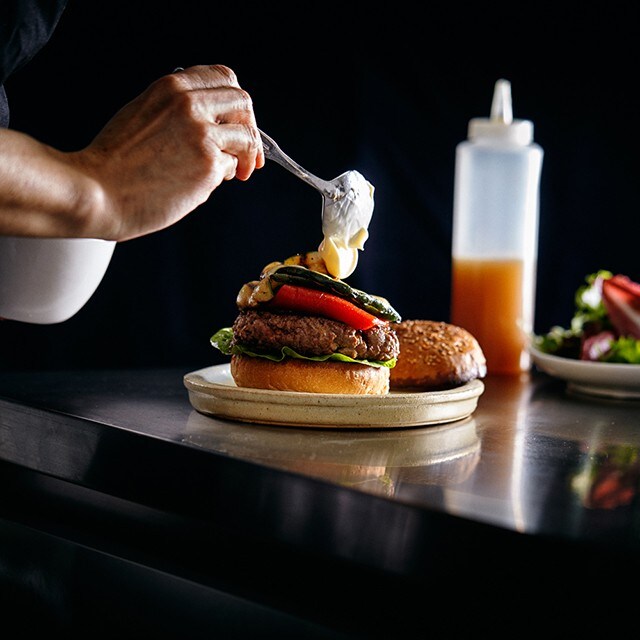
You can also use ingredients or other dishes as props. If you’re shooting a plant-based chicken burger, you can surround it with colorful vegetables to get your healthy message across. Or, place other vegetarian-friendly dishes on the side to upsell more menu items. Lastly, use human elements to give your photo more depth. Ask someone to hold up the sandwich or get a kiddie model to bite it. You can also head to the kitchen and take food preparation photos to highlight special techniques or equipment.
Pro tip: ensure your audience’s eyes can easily move across the frame of the shot. Achieve this by balancing your props on different sides of your photo’s focal point.
2. Light it Right
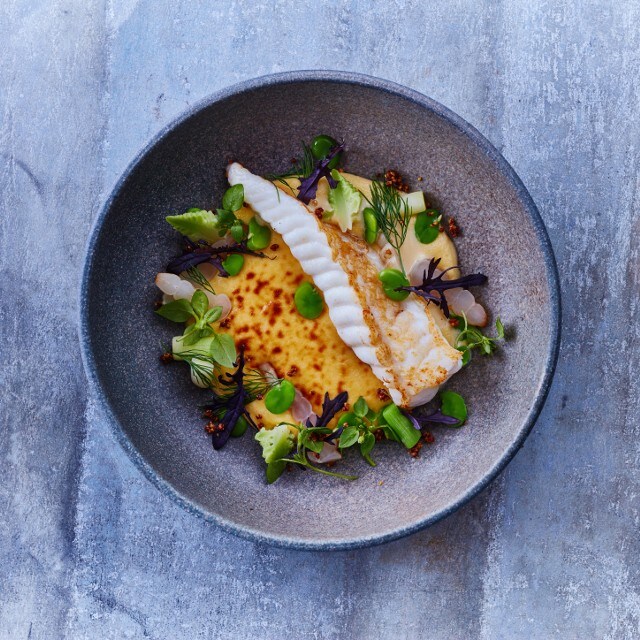
A well-lit food photo can elevate the mundane into something beautiful. However, most establishments don't have access to professional lighting equipment. The perfect solution? Natural light! Find a place near a window or even outside in your parking area with terrific lighting. But make sure where you choose to set up is away from direct sunlight. Also, consider that different times of the day will affect the overall look.
Another professional food photography tip: avoid using your camera’s built-in flash. It creates harsh reflections, flattens the image, and makes it dull. Plus, it adds unnatural hues and shadows that are difficult to edit out.
3. Work With Varying Angles
There are two basic angles for food pics – shoot low or directly above, about 10-40 degrees from the table or overhead for a flat-lay look. The choice will depend on the subject (the food!) you’re shooting.
If you’re taking a photo of a table full of food, go for a top-down to get everything in one frame. This angle also helps avoid background distractions. But if you’re shooting a multi-layered dessert, a dish with numerous ingredients, or a single plate, a close-up or side shot is better. This way, you get to capture every component and highlight key elements. Creative food photography entails finding the right angle for a dish, just like shooting living subjects.
4. Get up close
Food is the hero of your photo. You’re taking a shot of a dish and not the background or the props, even if they help enhance your image composition.
In creative food photography, the tighter the shot, the better the outcome. Don't be afraid to zoom in for a more detailed depiction of the dish. But remember that different social media sites require varying image sizes, so you must allot space to crop photos. For example, you’ll need a square pic for your Instagram feed but a 1080 px by 1920 px for a story or reel.
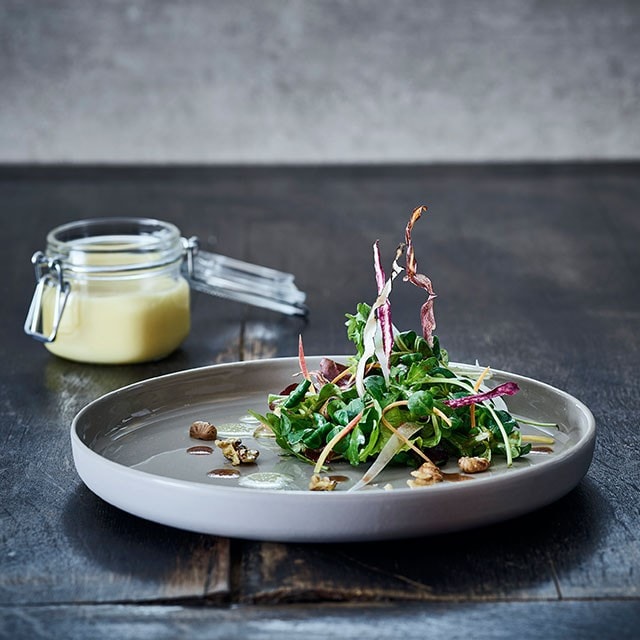
5. Use a trusty tripod
Tripods might be cumbersome to bring, but using one has many advantages. First, it allows you to choose the optimum position for your camera and adapt the same setting for other shots. It also helps improve the sharpness of an image. Overall, it increases the odds of getting a cleaner shot.
What kind of tripod should you invest in? Plenty of options are in the market but choose the kind you can prop on a table. You might also want to buy one you can use for smartphones and professional cameras.
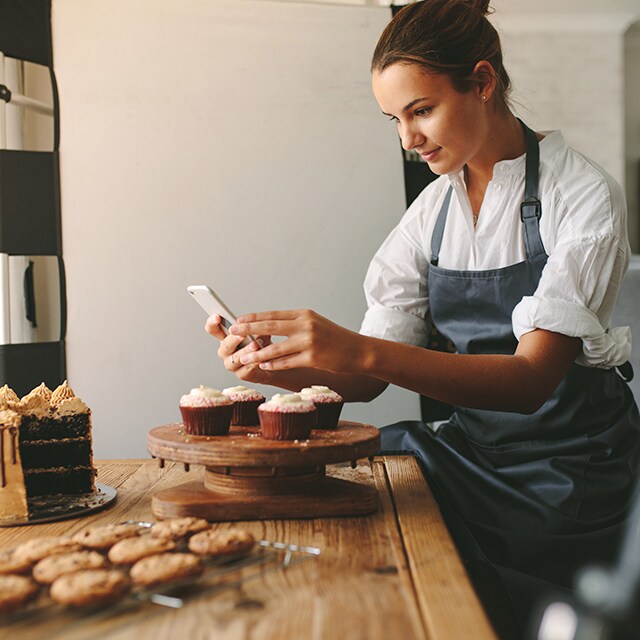
6. Maximize Post-Processing Tools
Some food photography ideas come when the shoot is over. When this happens, don’t fret! You can count on several photo editing apps to help you alter (improve!) your images. Sometimes, it’s just a matter of choosing a different background photo for your food. Or, you might need to fix the shadows or enhance colors.
Among the free tools you can install, choose Snapseed, Afterlight, or VSCO. These three are easy to navigate even for beginners – just choose the one you’re most comfortable with. Or, you can also use the standard tools in the photo app on your phone. Even Instagram’s built-in editing option offers terrific results. But don’t overdo it! Use these apps to improve vibrance, blur the background (depth of field), or apply filters and frames to create a unique style. Never employ them to produce fake images to trick your customers.
Spend some time experimenting with different settings and effects until you’re happy with the shots you’re producing. But also consider what will appeal to your target market. Professional food photography entails storytelling to catch your customer’s attention. Follow suit, and you might just see your sales soar to new heights.
Related Articles
What you'll get:
- Access to free Chef trainings
- The best recipes and tips from Chefs around the world
- The latest culinary trends